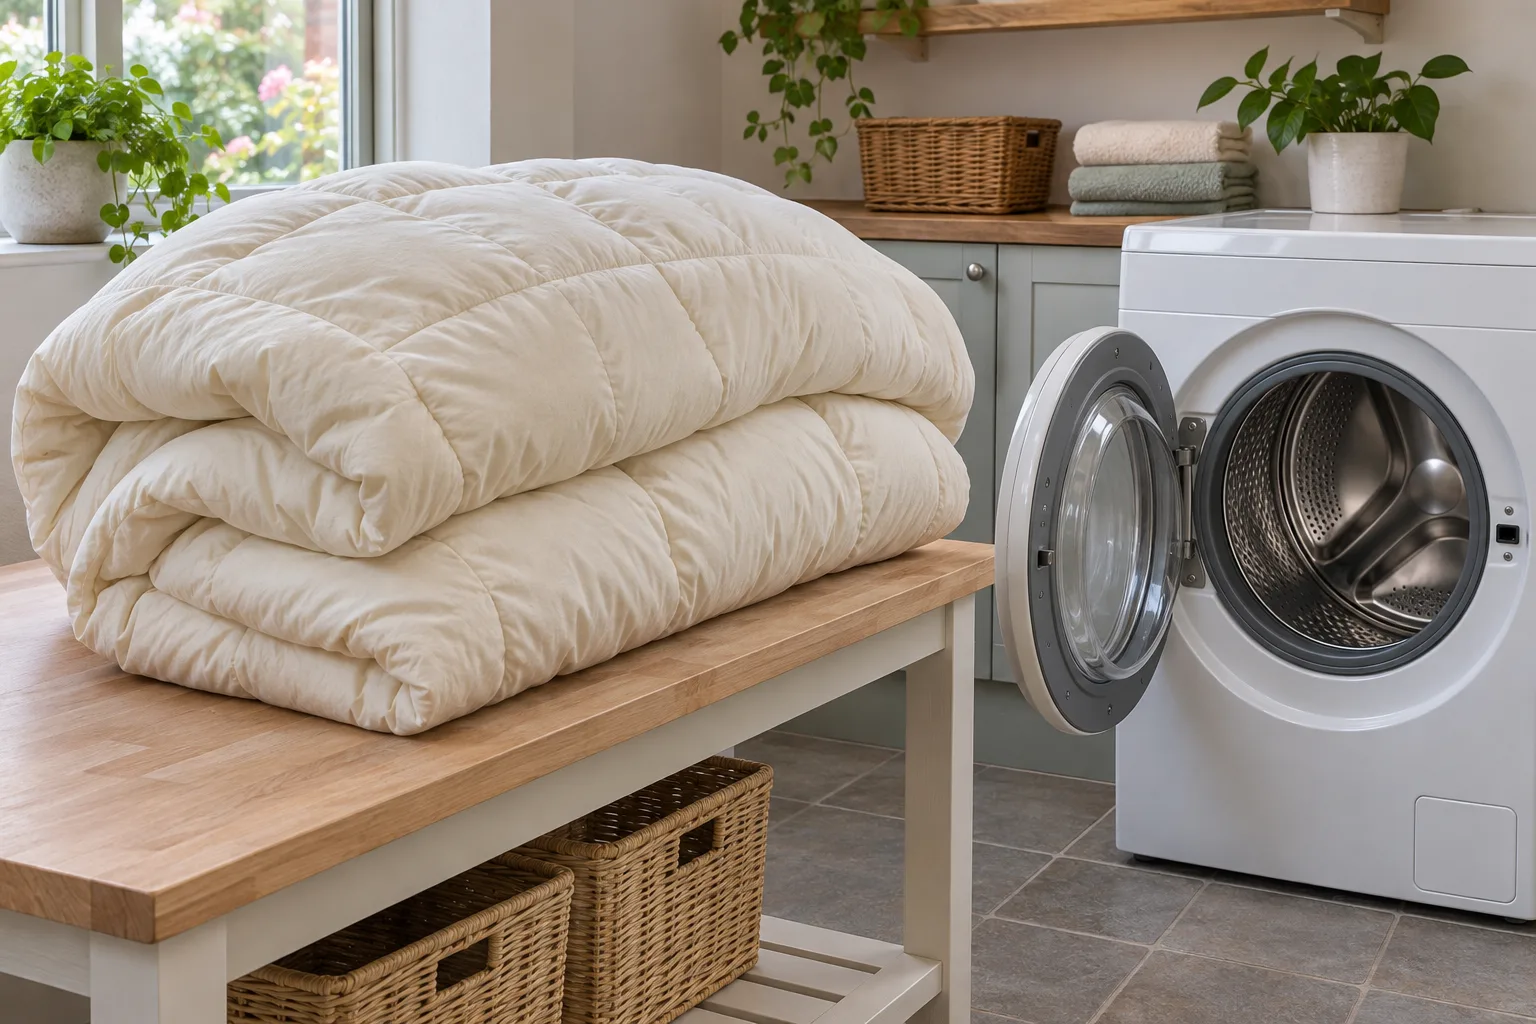
To wash a coverless duvet at home, follow the care label on that exact duvet, make sure the whole duvet can move freely in your washing machine, and allow enough time to dry the filling completely before it goes back on the bed. If it fills the drum tightly when dry, use a larger machine. A coverless duvet saves changing a separate cover, but every wash means laundering and drying the entire duvet.
In This Article
- Read the care label
- Check machine fit
- Prepare for washing
- Wash it step by step
- Dry it completely
- Solve dampness or lumps
- Frequently asked questions
A coverless duvet has its outer fabric sewn around the filling. There is no removable cover to wash separately, so laundering it takes more space and more drying time than washing ordinary bed linen. The care instructions can also change between variants within a brand: tog, bed size, outer fabric and filling all matter. This guide takes you from the label to the final dryness check; our coverless-duvet buying guide compares particular models if you are still choosing one.
Read the care label before washing
Start with the label sewn into your duvet, rather than a care claim for another product in the same range. Find the wash-tub symbol, the temperature limit, any line beneath the tub for a gentler cycle, and the square symbol for tumble drying. If a symbol is crossed out, that treatment is excluded. If the label says professional cleaning only, or you cannot make sense of a damaged label, contact the maker with the exact model and size before putting the duvet in a machine.
What to write down from the label
- Wash method and maximum temperature: a maximum is a limit, not a target you must use. Select a programme allowed by the label and appropriate to the machine.
- Cycle and spin restrictions: a gentle-wash symbol may rule out a vigorous cottons cycle even when the temperature looks suitable.
- Drying method: a tumble-dryer symbol, its heat dots and any line-dry instruction determine your plan after the spin finishes.
- Bleach and ironing symbols: do not treat the decorative outer as ordinary white cotton. A printed or textured surface may need different handling.
If you are unsure which symbol you are looking at, compare it with the GINETEX explanation of textile-care symbols. The symbols show the maximum permitted treatment; the maker’s written instructions may add useful model-specific details. Photograph the label before washing if the print is already faint. That gives you something reliable to check when you set the dryer or choose between air and tumble drying.
Manufacturer guidance illustrates why a single rule for all coverless duvets is unreliable. Night Lark’s Natural Cotton coverless duvet care page specifies its own machine-size and drying guidance, with a larger-machine requirement for some heavier, bigger variants. Those details are useful for that product, not permission to wash a different duvet at the same temperature or in the same drum. For a duvet already in your home, its delivered label takes priority.
Check the outer and filling together
A coverless duvet’s outer is part of the product, rather than a cover you can replace after a hot wash. The sewn-in fabric might be plain, printed, tufted, seersucker or cotton. Its care instructions must work for the filling and stitching as well as the surface. An apparently sturdy outer does not make the filling safe for every cycle or heat setting.
Inspect the seams and quilting while you have the duvet laid out. An open seam can let filling escape and worsen in a wash. If the shell is torn, repair it according to the maker’s advice before laundering, or arrange professional cleaning if repair is impractical. If a duvet has a strong persistent odour, visible mould or extensive staining, routine washing may not restore it; seek suitable professional advice or replace it.
Check whether the whole duvet fits your machines
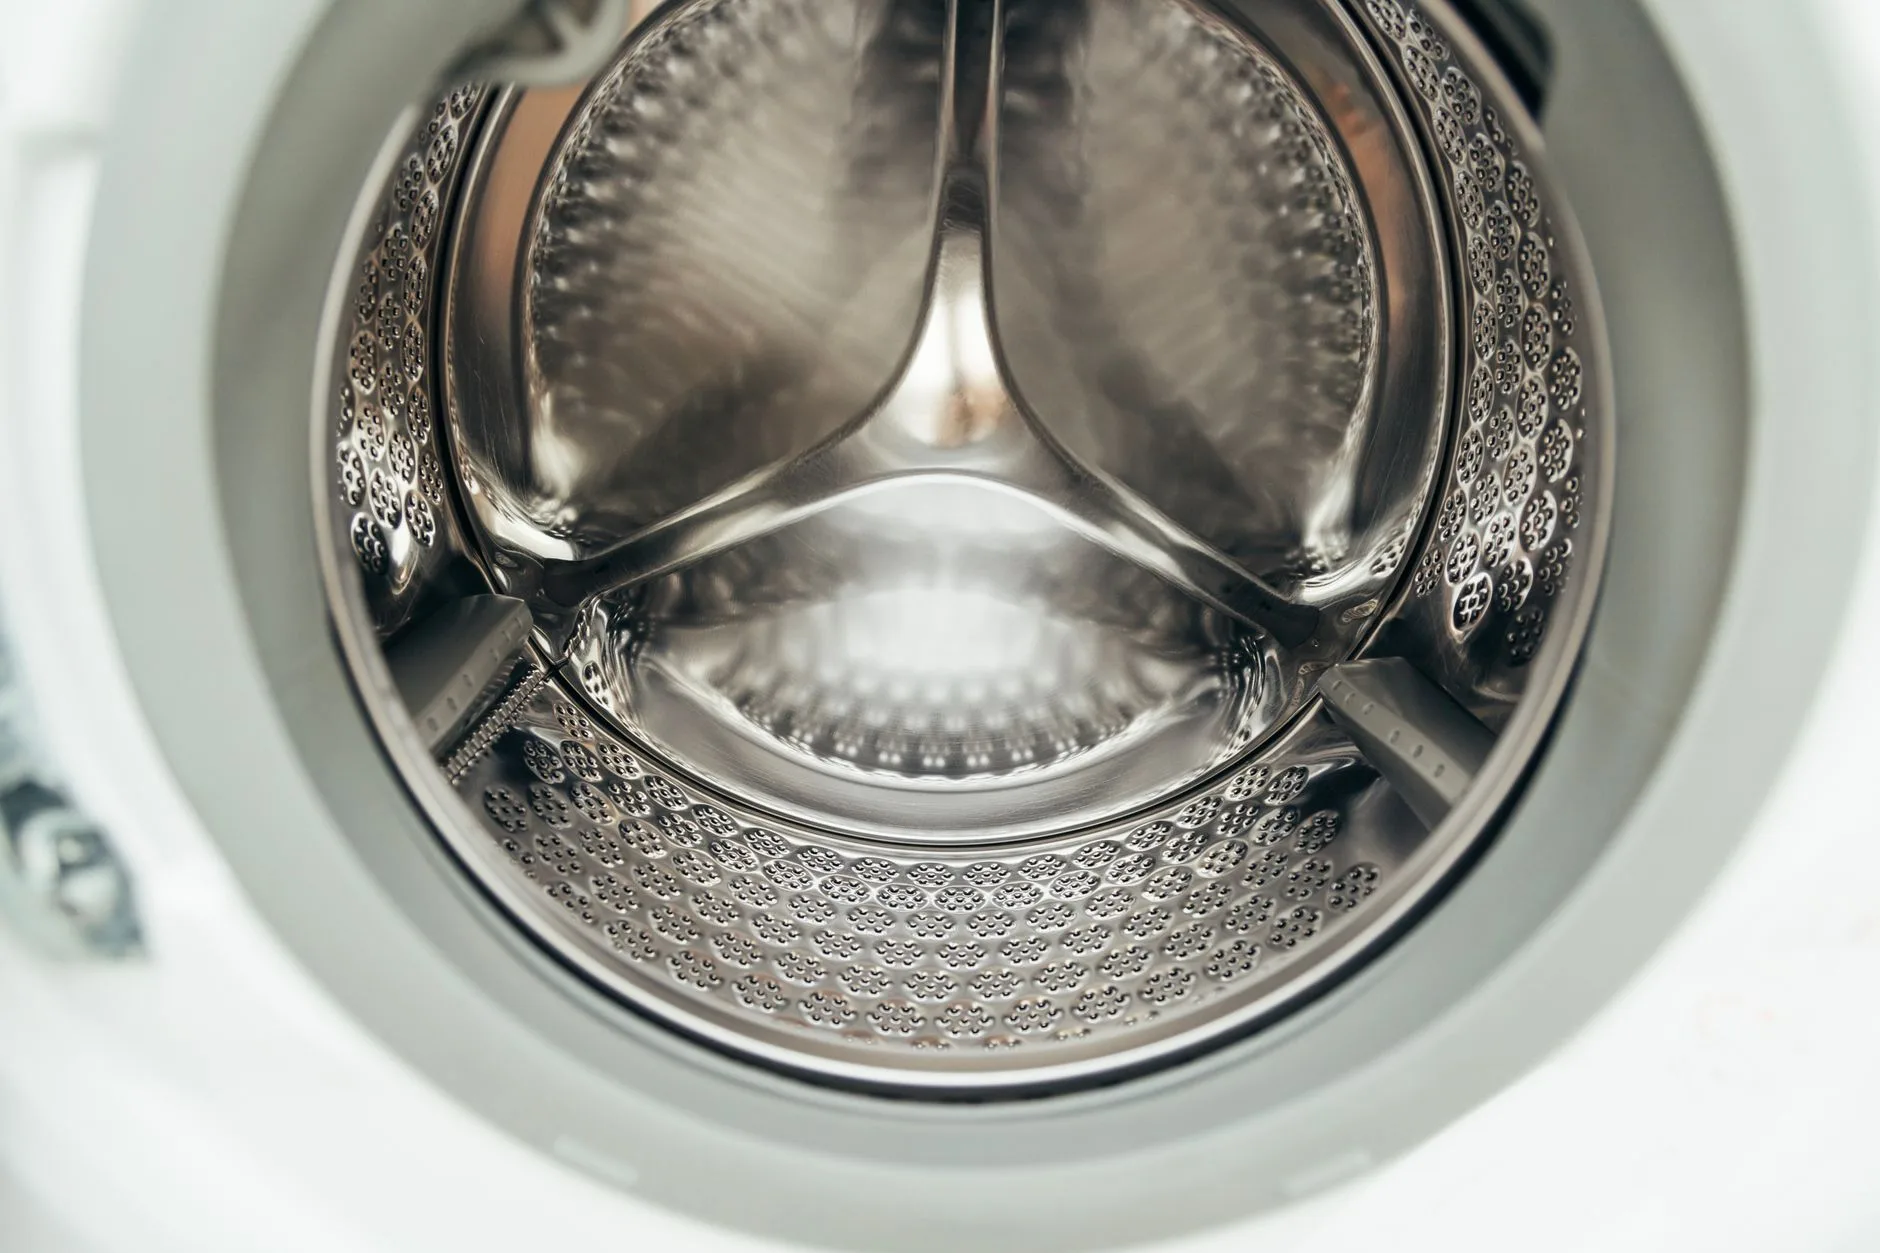
The rated kilogram capacity printed on a washing machine is only the beginning of the fit test. A dry duvet is bulky and can press against the door long before it reaches the weight limit. It needs room to turn, wet through, wash and rinse. When squeezed into a tightly packed drum, the middle may stay poorly cleaned and detergent may remain in the folds. A machine can also struggle to balance a large wet item during the spin.
Use this simple decision: load the dry duvet by itself and close the door without forcing it. If it is wedged against the glass or cannot shift when you move the drum by hand, take it out. Try a larger-capacity laundrette machine or a suitable professional service instead. Do not assume a double duvet fits because the machine handles a double duvet cover; the two loads are very different.
Why bed size and tog are only clues
Single, double, king and super-king labels describe the bed, not the space available inside your drum. A high-tog king duvet can be much bulkier than a light single, but the filling and construction also affect its volume. Even two duvets with the same bed size may pack differently. Look for the manufacturer’s guidance for your exact size and tog, then confirm the dry item has space to move in your actual machine.
A quoted “7kg”, “8kg” or “10kg” requirement is model-specific, not a universal coverless-duvet rule. A larger kg rating also does not guarantee a wide opening or useful drum volume. If the duvet is close to the limit, choosing a larger machine is the safer practical decision. Keep the load to one duvet unless its care instructions and your machine manual expressly permit another item.
Your dryer needs its own fit check. Wet filling is heavy, and the duvet must tumble freely to dry evenly. A duvet that just fits the washer may be too bulky for your home dryer. Plan the drying method before you start: if the label permits tumble drying but your dryer is cramped, use a larger suitable dryer; if the label rules out tumble drying, allow ample air-drying space and suitable weather or indoor ventilation. A wash without a workable drying plan can leave you with a damp duvet at bedtime.
The same capacity decision matters when shopping. Our all-seasons duvet comparison explains an alternative with separate layers; a conventional duvet with a removable cover can make weekly laundry easier when the whole duvet is too large for your home machines.
Prepare the duvet and washing machine
Preparation is brief, but it prevents the avoidable problems: a stain left untouched, a loose seam opened further, or a clean duvet coming out with detergent marks. Check both faces in good light. Look at the corners and stitched channels where hair, lint and small items can collect. If the label permits it, treat a small mark with a product suited to the outer fabric and follow that product’s directions. Test any treatment on an inconspicuous area first.
Do not rub a textured or printed outer aggressively. Blotting or gentle treatment is usually kinder to the finish than scrubbing. Avoid using bleach merely because the main fabric looks pale; the care symbol must allow it. Where the maker gives a specific stain-treatment instruction, use that in preference to a generic tip. A delicate outer, decorative tufting or special filling deserves particular care.
Before you press start
- Empty and inspect the drum: remove stray dark garments or objects and check the detergent drawer for residue.
- Load one duvet: spread it loosely around the drum. Do not pack a second bulky item into the gaps.
- Check the detergent dose: use the amount recommended for the product, your machine and local water hardness. More detergent does not make a bulky load easier to rinse.
- Choose the permitted programme: match the label’s temperature and cycle restrictions before adding detergent or starting the wash.
If the machine’s duvet or bedding programme exceeds the label’s temperature or uses a prohibited treatment, choose a different permitted programme. Programme names are marketing shorthand; the actual temperature, wash action and spin setting are what matter. The same applies to fabric softener: only use it if the duvet maker allows it. A product with a special filling or finish may advise against additives that coat fibres.
If the duvet has not been washed for a while, it can help to clean the machine’s detergent drawer and door seal first. That is a housekeeping step, not a reason to change the duvet’s care settings. For regular sheet, pillowcase and cover frequency, see how often to wash your bedding; this page focuses on the less frequent but more demanding whole-duvet wash.
How to wash a coverless duvet step by step
The sequence below is deliberately label-led. It does not prescribe one temperature or one universal machine capacity, because those vary by product. If your label conflicts with any general step here, follow the label and the machine manual.
- Read the exact duvet label. Confirm machine washing is permitted, note the temperature ceiling, cycle and spin limits, and decide how you will dry it afterwards.
- Check fit while the duvet is dry. Place it in the empty machine on its own. It should sit without forcing the door and have space to move. If it is compressed tightly, switch to a larger suitable machine.
- Inspect and prepare the outer. Check for loose seams and treat individual stains only with a method compatible with the fabric. Keep decorative surfaces out of harsh scrubbing.
- Set the wash. Use a programme and temperature within the label’s limits, with an appropriate measured dose of detergent. Do not rely on a “bedding” button if its underlying settings are too harsh.
- Let the load rinse and spin safely. If the machine stops because the wet duvet is unbalanced, follow the machine manual. Do not force repeated high-speed spins against its warnings. A permitted extra rinse may help if detergent remains, but the first fix is a properly sized load and sensible detergent dose.
- Remove the duvet promptly and open it out. Leaving a heavy damp bundle in the drum delays drying and encourages a musty smell. Move straight to the drying method allowed by the label.
Once the cycle has finished, feel more than the outer fabric. A dry-feeling shell can conceal wet filling, especially in the centre or thick corners. If the duvet still feels slippery with detergent, check whether a label-permitted rinse is appropriate before drying. If the machine visibly struggled to rotate or clean it, repeating the wash in the same overfilled drum is unlikely to solve the problem; use a larger machine.
What about washing a new coverless duvet?
Read its label first and check the maker’s advice. Some owners choose to wash new bedding before first use; others follow the maker’s “ready to use” guidance. If you do wash it, the whole-duvet fit and complete-drying checks still apply. Packaging claims such as “easy care” do not override the care symbols.
The filling affects how quickly and evenly a duvet can dry. Our duvet-filling guide explains the differences between common materials, but it is not a substitute for the wash and drying directions on a particular coverless model.
Dry a coverless duvet all the way through
Drying is the part to plan most carefully. A coverless duvet goes back on the bed as one piece, so a damp patch in the filling cannot be solved by fitting a fresh cover. Allow enough time and space for the thickest sections to dry before sleeping under it or putting it into storage. The right method depends on the label, the duvet’s size, the weather and the equipment available.
If the label permits a tumble dryer
Choose the heat setting and programme shown on the label. The dryer must be roomy enough for the duvet to lift and tumble rather than roll as a tight ball. Pause when the machine permits, open the duvet out, turn it and check thick stitched areas. Repeat within the care instructions until the filling is dry throughout. Avoid declaring it done solely because the dryer has ended or the outside feels warm.
Clean the lint filter as the dryer manufacturer directs. Keep the area around the appliance clear and do not run it while you are asleep or away from home. The Greater Manchester Fire and Rescue Service’s appliance-safety advice covers routine dryer maintenance and safe use. Do not improvise a higher heat setting to speed up a slow load; it may damage the shell or filling.
If the duvet fits poorly in your dryer, use a larger suitable machine or a label-compliant air-drying method. Some brands recommend tumble drying for their own coverless range; another range may forbid it. The sewn-on outer alone tells you nothing certain about heat tolerance.
If it must air-dry
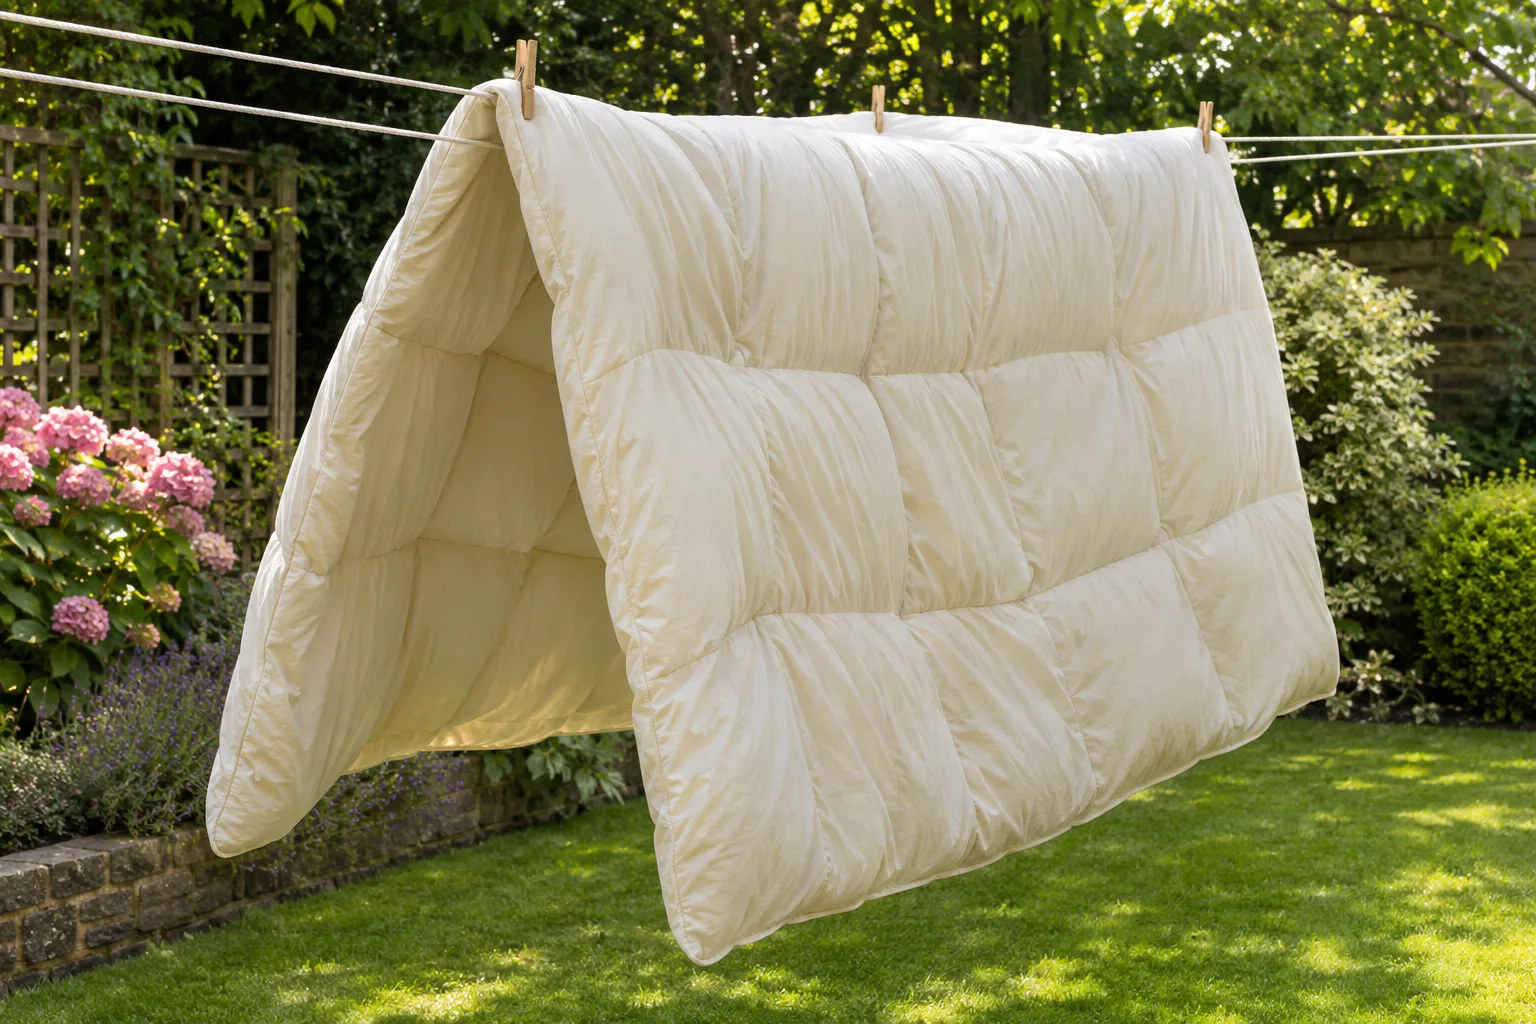
Open the duvet out as widely as practical, with air reaching both sides. A washing line, a suitably strong and spacious airer, or another clean support can work if it holds the duvet without bunching it into a thick fold. Protect it from dirt and avoid overloading a small airer. Turn and reposition it during drying so the folded edge or underside does not stay wet. If the weather is damp, provide safe indoor ventilation or use an appropriate larger drying facility.
There is no dependable drying-time promise for every duvet. A light single on a warm, breezy day behaves differently from a thick king in a cool room. Check the centre, corners, quilting lines and any area that was doubled over. Feel for a cold, clammy or heavy patch and notice any musty smell. If one area is still damp, keep drying and turn the duvet again. Make the bed only when the entire item is dry and cool to the touch.
Before putting a freshly washed duvet into a cupboard, give it the same thorough check. Storing a damp bulky item in a bag or tight space can trap moisture. If you need bedding for that night, have a clean alternative ready before starting the wash. Our seasonal bedding-layering guide can help plan a spare layer while the whole duvet is out of use.
What to do when the duvet is still damp or lumpy
An imperfect first dry is common with bulky bedding, but a damp duvet should not go back on the bed. First work out whether the problem is moisture, detergent residue, an unevenly dried filling or physical damage. Each has a different response.
Damp in the middle
Open the duvet fully and check the thickest channels or centre by hand. If the label allows tumble drying and the dryer has room, run a further permitted drying cycle, pausing to redistribute the duvet. For air drying, turn it and give the damp area better airflow. Check again after the fabric has cooled; warmth straight from a dryer can mask residual moisture. Do not seal a damp duvet in storage or cover it with other bedding.
Filling feels lumpy
Feel whether the lump is a wet patch. If it is, dry it fully before judging the loft. Where the care instructions allow, gently shake and redistribute the filling by hand as it dries. Do not pull at stitched channels or use a high-heat rescue cycle. A lump that remains after complete drying, especially alongside a split seam or migrated filling, may be damage rather than a temporary washing effect. Ask the maker about care or warranty terms for that exact model.
Detergent marks or a musty smell
White streaks may be detergent that did not rinse out of a cramped load. Check the label and, if appropriate, use a larger machine and a permitted rinse rather than adding yet more detergent. A musty smell can signal moisture left in the filling or a duvet left damp in the drum. Dry it thoroughly and reassess. If it has a persistent unpleasant smell, visible mould or obvious deterioration, stop using it and seek professional advice or replace it.
The broad lesson is practical: a machine that can close around a duvet is not necessarily big enough to wash it well, and a dry outer is not proof of a dry filling. When either test fails, a larger facility is usually a better solution than forcing another cycle at home.
Frequently Asked Questions
Can you put a coverless duvet in a washing machine? Many coverless duvets can be machine washed, but follow the label on your exact duvet. The whole item needs room to move in the drum; use a larger machine if it is tightly packed.
What size washing machine do you need for a coverless duvet? There is no universal kilogram rating. Check the manufacturer instructions for your size and tog, then make sure the dry duvet fits loosely enough to turn in your machine.
What temperature should you wash a coverless duvet at? Use a programme within the temperature limit on the delivered care label. Different outer fabrics and fillings can have different limits, even within the same brand.
Can you tumble dry a coverless duvet? Only if its label permits tumble drying. Use the allowed heat setting, leave room for it to tumble, and check the filling and thick corners before returning it to the bed.
How do you know a coverless duvet is completely dry? Check the centre, corners and quilting lines after the duvet has cooled. If any area feels cold, clammy or heavy, or smells musty, keep drying and turn it again.
What if a coverless duvet will not fit your washer? Do not force it into the drum. Use a suitable larger machine or a professional laundry service that can follow its care instructions.